Success! Thank you for requesting the
"Long Exposure Calculation Cheat Sheet"
For the next 48 hours only, grab the
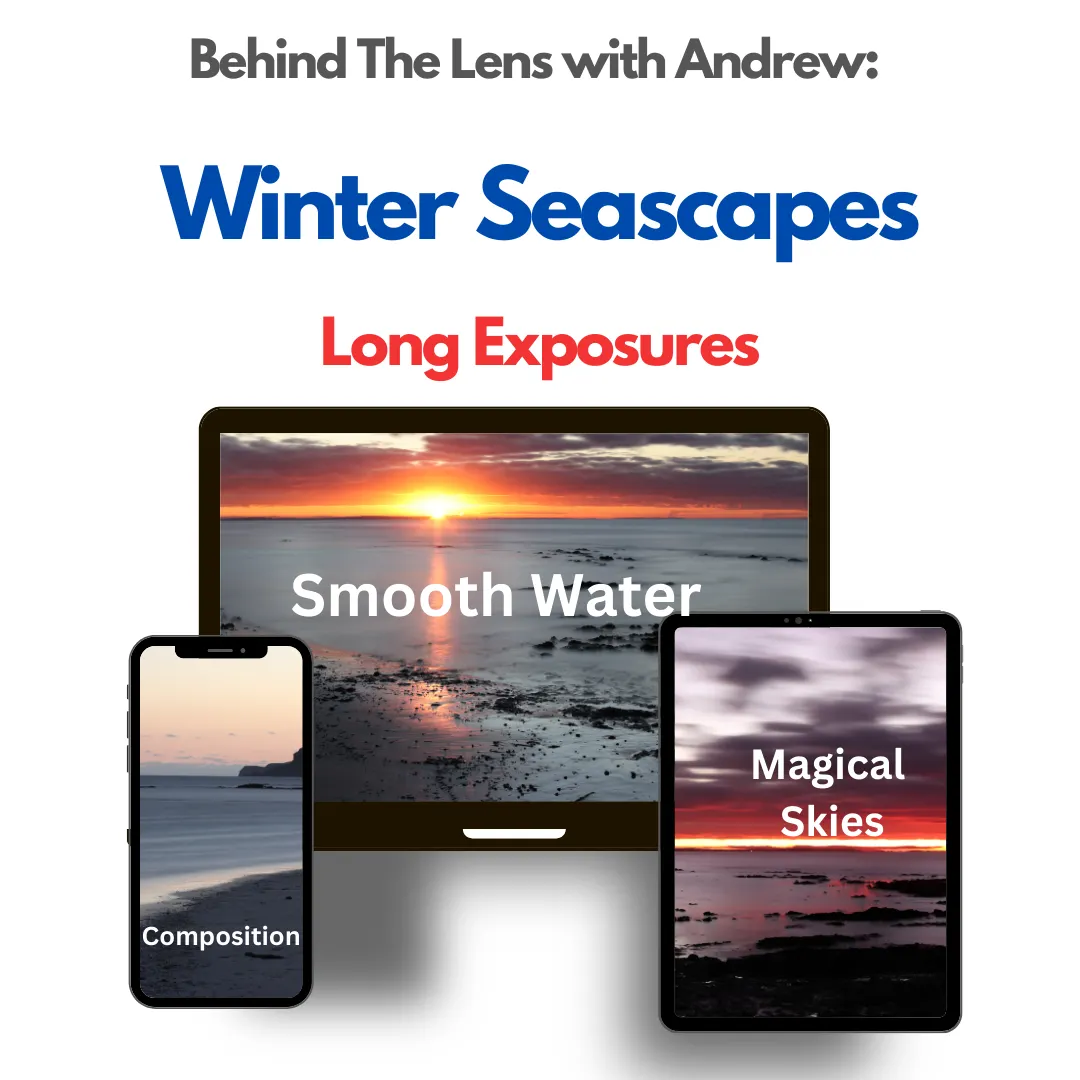
Winter Seascapes: Long Exposures for just $4 (normally $97!)
Want to See Long Exposure Photography in Action? Join Me on Location for Just $4
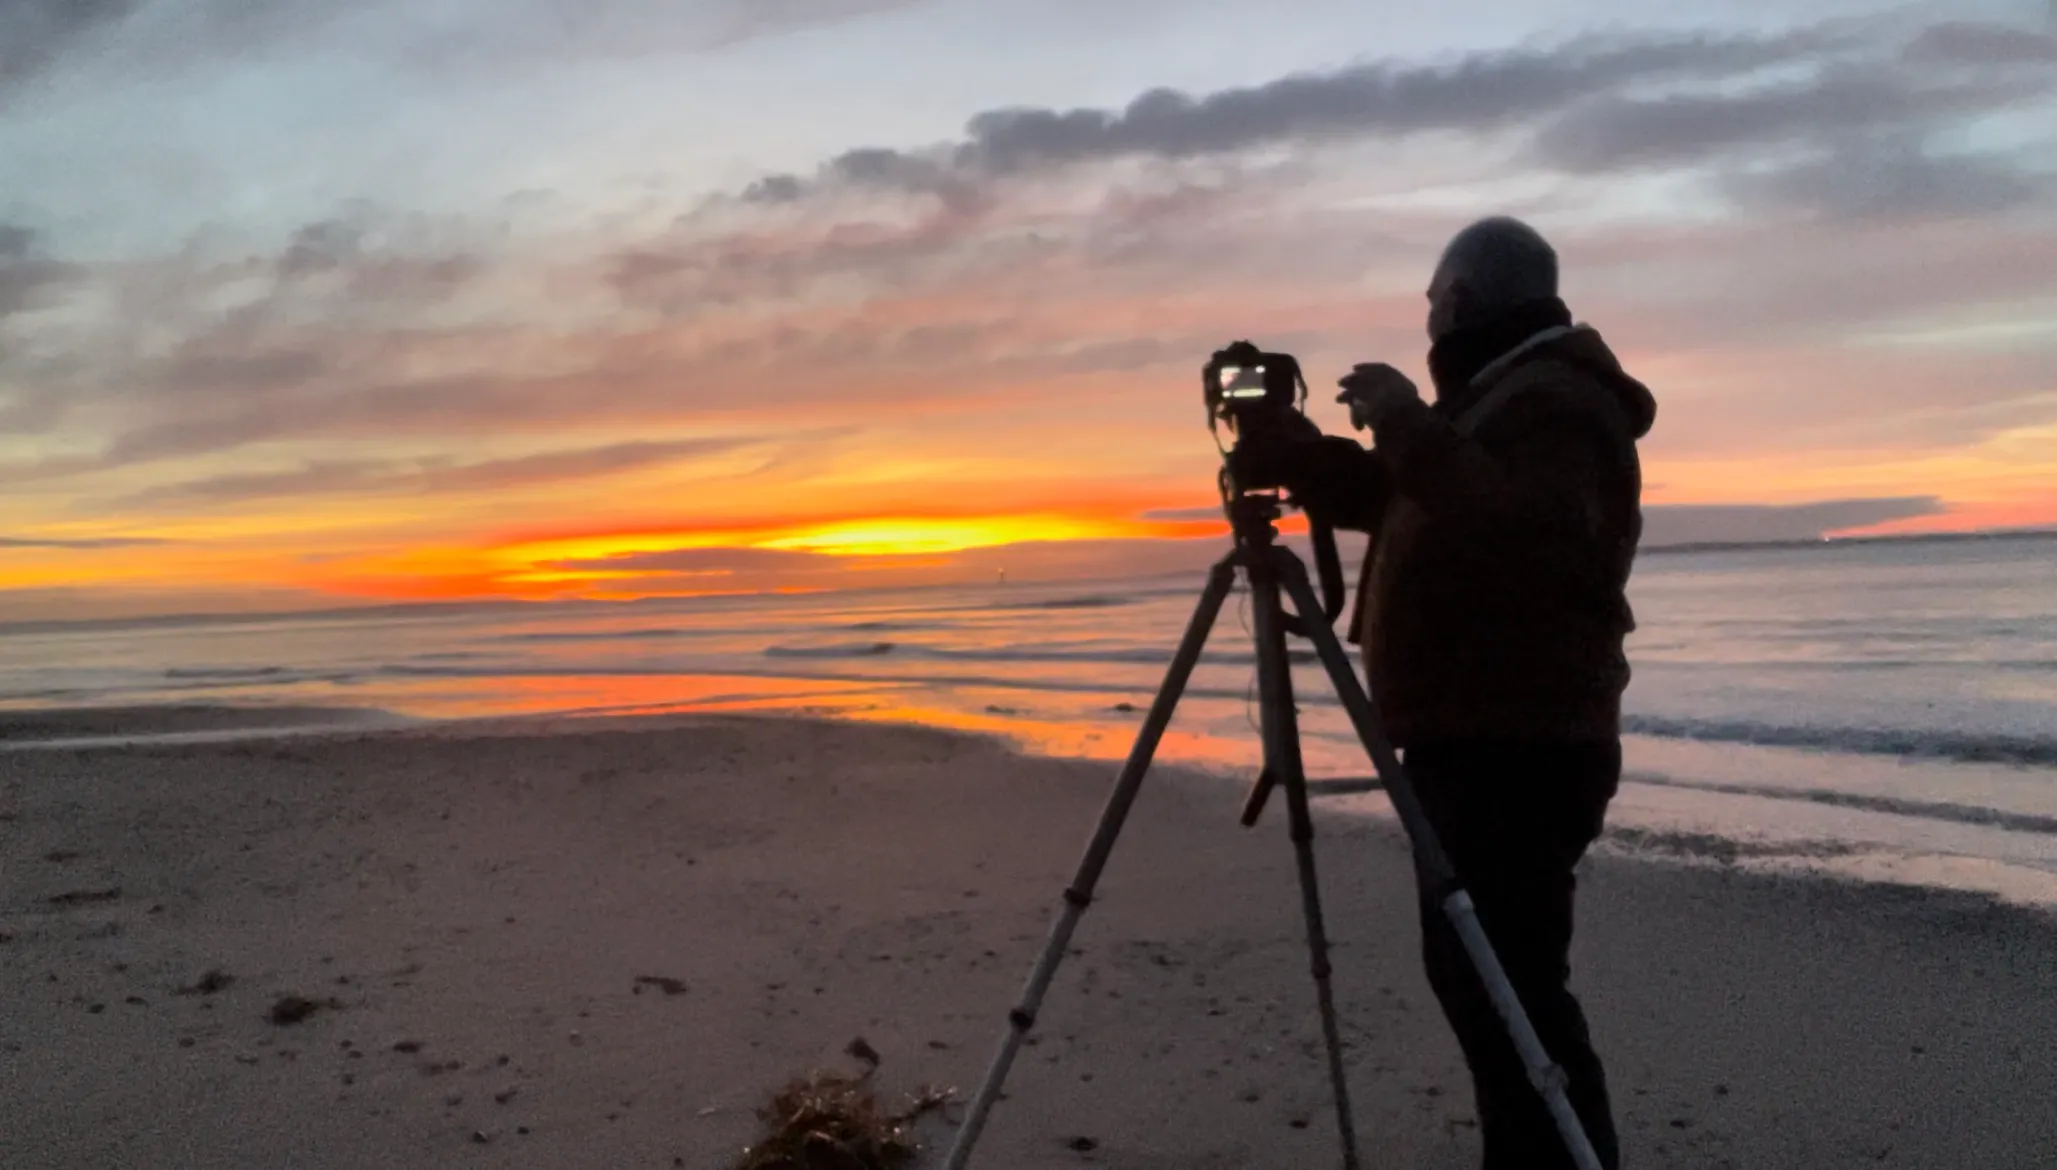
Take your long-exposure photography to the next level with my brand-new Winter Seascapes Course—Long Exposures!
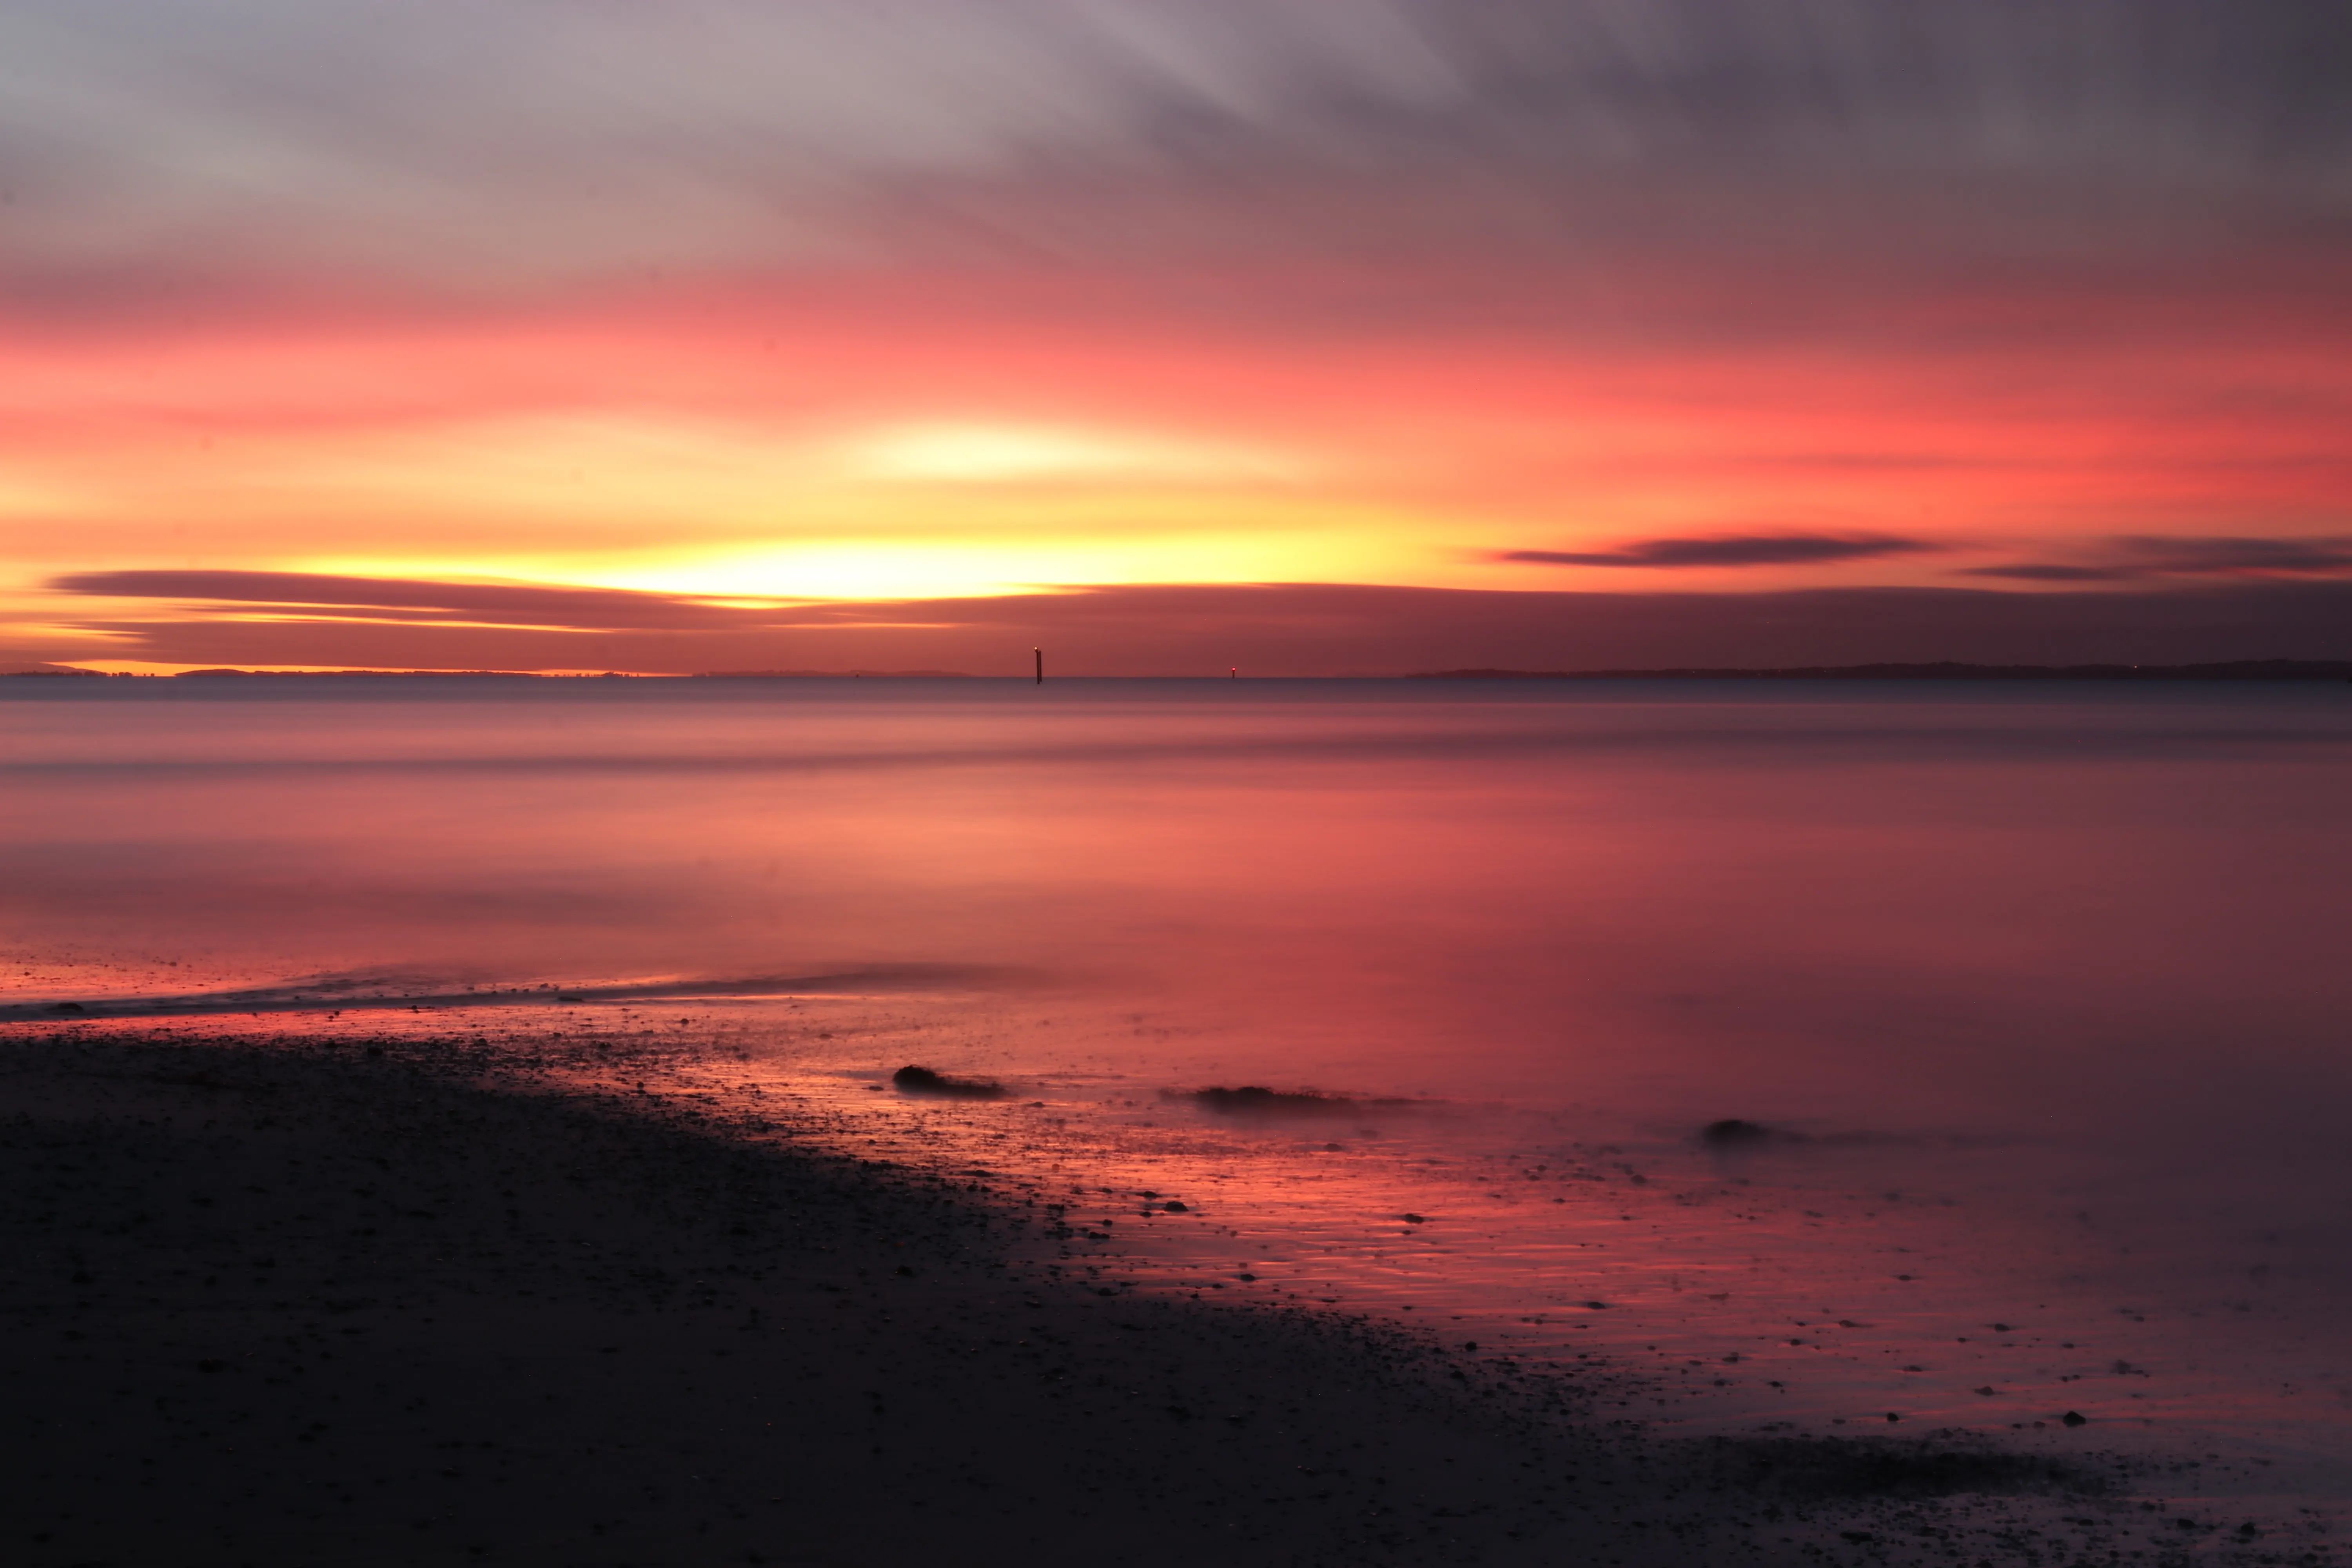
Join me on location and learn step-by-step how to capture breathtaking seascapes with silky water and dramatic skies—even with minimal gear.
This course is normally priced at $97, but as part of a special introductory offer, you can get it today for just $4.
This special $4 deal is only available on this page—don't miss out!
In return, I’d love to hear your feedback!
Long Exposure Cheat Sheet:
Master F-Stop and Shutter Speed Calculations!
Whether you're slowing down your shutter to capture silky smooth water
and clouds or adjusting your aperture for greater depth of field, this chart
will help you quickly figure out the right settings.
For every full stop adjustment to your aperture (f-stop), you will
either double or halve your shutter speed to maintain the same exposure.
If you make your aperture smaller
(e.g., from f/5.6 to f/8), double your
shutter speed to let in more light.
If you make your aperture larger
(e.g., from f/8 to f/5.6), halve your shutter speed to let in less light.
The same applies when adjusting your shutter speed:
If you double your shutter speed (e.g., from 8 seconds to 16 seconds),
you’ll need to close down your aperture (increase the f-stop number) by one stop.
If you halve your shutter speed (e.g., from 8 seconds to 4 seconds),
you’ll need to open up your aperture (decrease the f-stop number).
This relationship allows you to balance exposure while achieving the creative
effect you want, whether it’s controlling depth of field or capturing motion.
Exposure Calculation Chart (Aperture Changes) Use this chart to calculate
how much to adjust your shutter speed when changing your aperture for long exposures. Base Example: 8-second exposure at f/5.6
NOTE:
For exposures longer than 30 seconds, you’ll need to use
the Bulb (B) setting on most DSLR or mirrorless cameras.
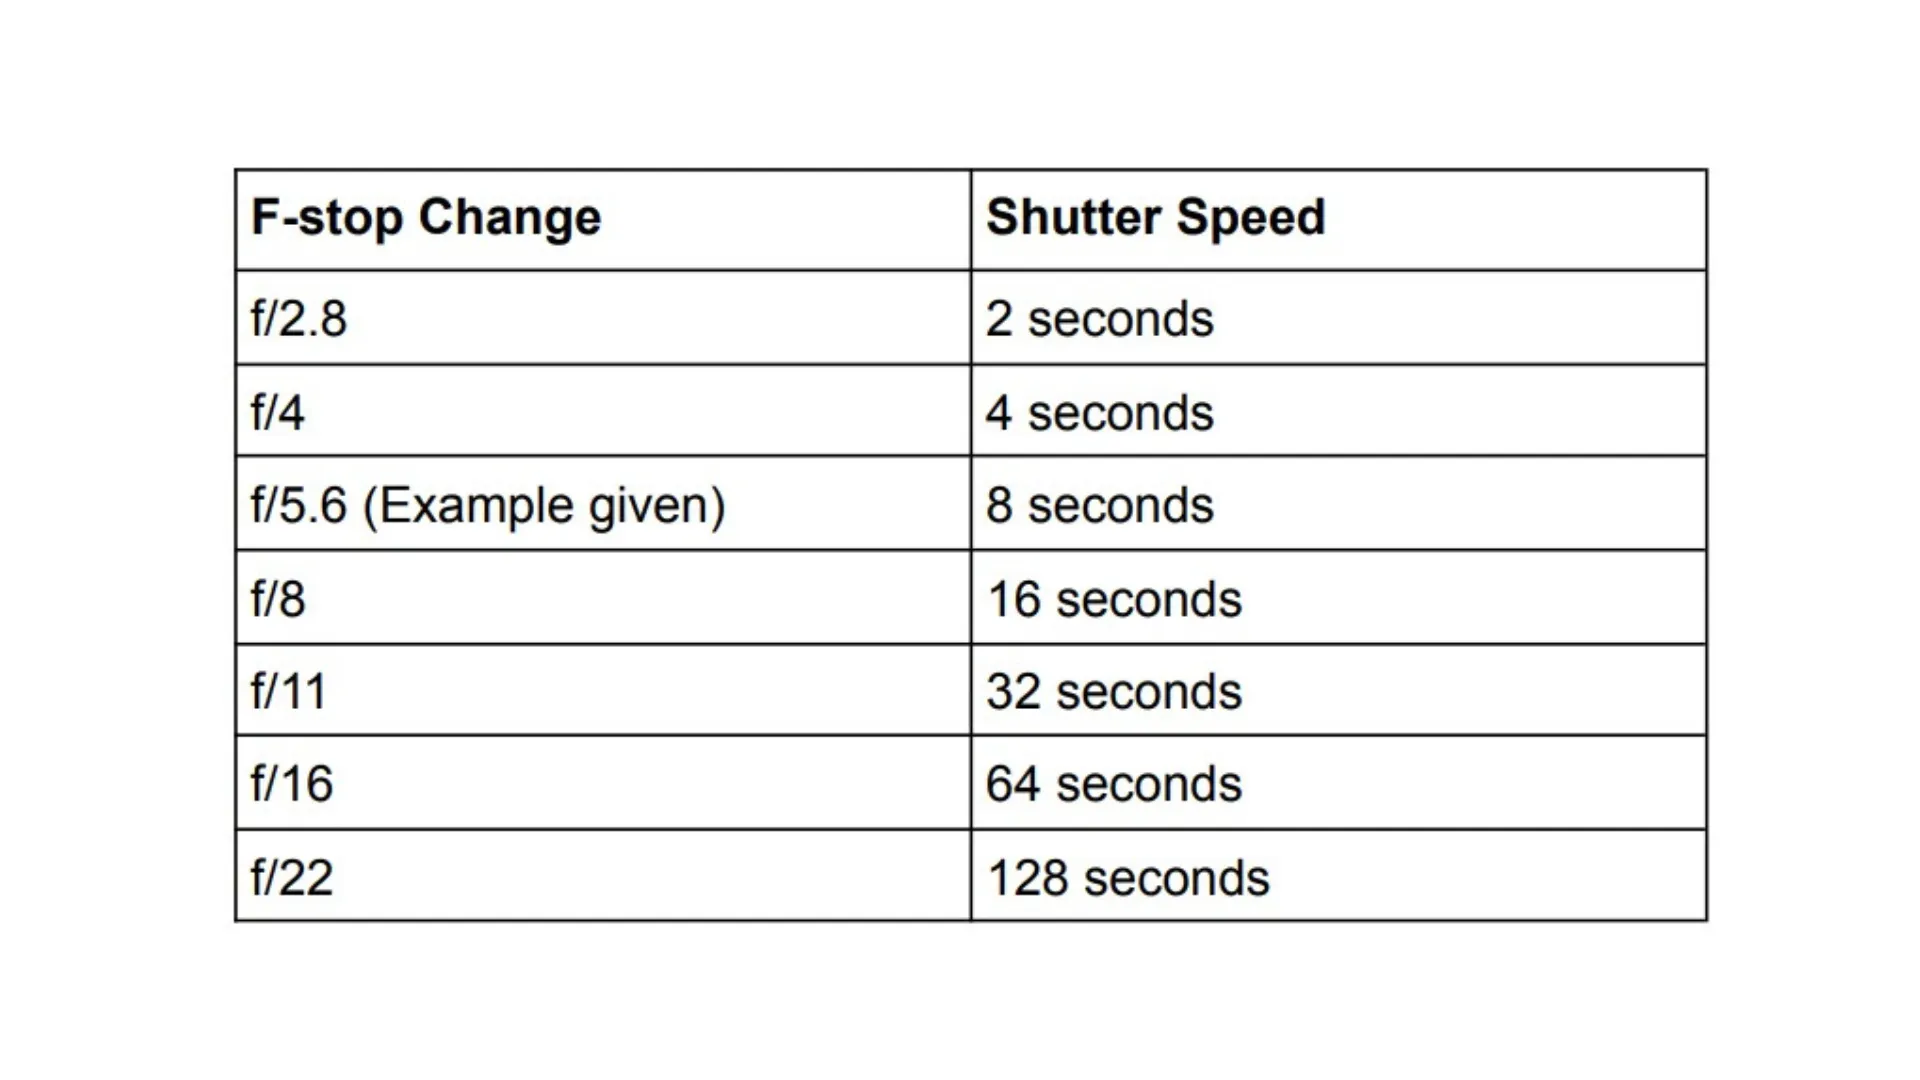
How to Use This Chart Above
Example: If your base exposure is 8 seconds at f/5.6 and you want to adjust the aperture to f/16 (three stops smaller), you’ll need to change your shutter speed to 64 seconds.
More Stops: If you adjust the aperture by two stops (from f/5.6 to f/11), you’ll need to quadruple the shutter speed to 32 seconds.
This chart helps you quickly calculate the right shutter speed when you adjust your aperture, so you can get the perfect exposure without guesswork.
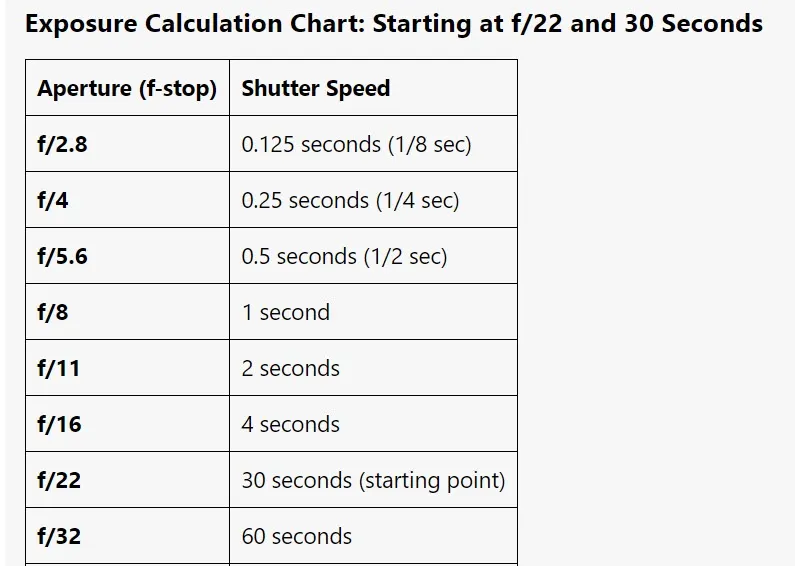
Chart Below:
Example: If my current exposure is f/22 at 30 seconds and I
want less movement of water in the photo, I can reduce the shutter speed to 1 second, which means I’m now at f/8.
Tip: If I want to stay at f/22 for greater depth of field but reduce my shutter speed to 1 second, I would need to increase my ISO by 3 stops—for example, from ISO 100 to ISO 800.
However, increasing ISO can introduce noise to your photo, so use this method minimally where possible.
Bonus Tips for Long Exposure Seascape Photography
1. Use ND Filters for Daytime Long Exposures When shooting long exposures during the day, especially in bright winter conditions, you’ll need an ND filter to reduce the amount of light entering your lens.
This allows you to use a slower shutter speed without overexposing the image. Pro Tip: A 10-stop ND filter is often my choice for creating smooth water effects during daylight hours.
2. Stabilize Your Tripod In windy conditions, camera shake can ruin long exposures. Make sure your tripod is stable—use a center column hook to hang a weight (like a shopping bag with a rock or sand) for extra stability.
Alternatively, use a solid tripod in tough conditions.
Final Thoughts Long exposure photography is all about patience, creativity, and precision. Whether you’re capturing the movement of waves or the subtle drift of clouds, this chart will help you get your settings right so you can focus on creating beautiful images.
Keep experimenting, and don’t forget to have fun in the process!
Want to Learn More?
Check Out My Winter Seascapes Course! If you're ready to dive deeper into long exposure techniques, join me on location in Victoria, Australia with my Winter Seascapes Photography Course.
Learn how to capture stunning coastal seascapes and edit your final images using a simple, yet effective approach—JPEGs and the Windows Photo app.
Get started here: [Winter Seascapes Course—Long Exposures]
Make sure to keep this Long Exposure Calculation Cheat Sheet with you whenever you’re out shooting.
It’s the perfect quick reference for adjusting your settings—whether you're shooting dreamy seascapes or simply experimenting with long exposure techniques.
Happy Photography!
Andrew Baker
Copyright2025 The Chanley Trust